It’s been almost two years since our wedding day, and we have only just taken the time to put together a wedding photo book album with our professional digital photos! It’s been a lovely project to work on though, as it brought back all the happy memories from the day. And now I have experience of creating one, I thought I would share my tips for how to put together a wedding photo book of your own.
1. Research Suppliers
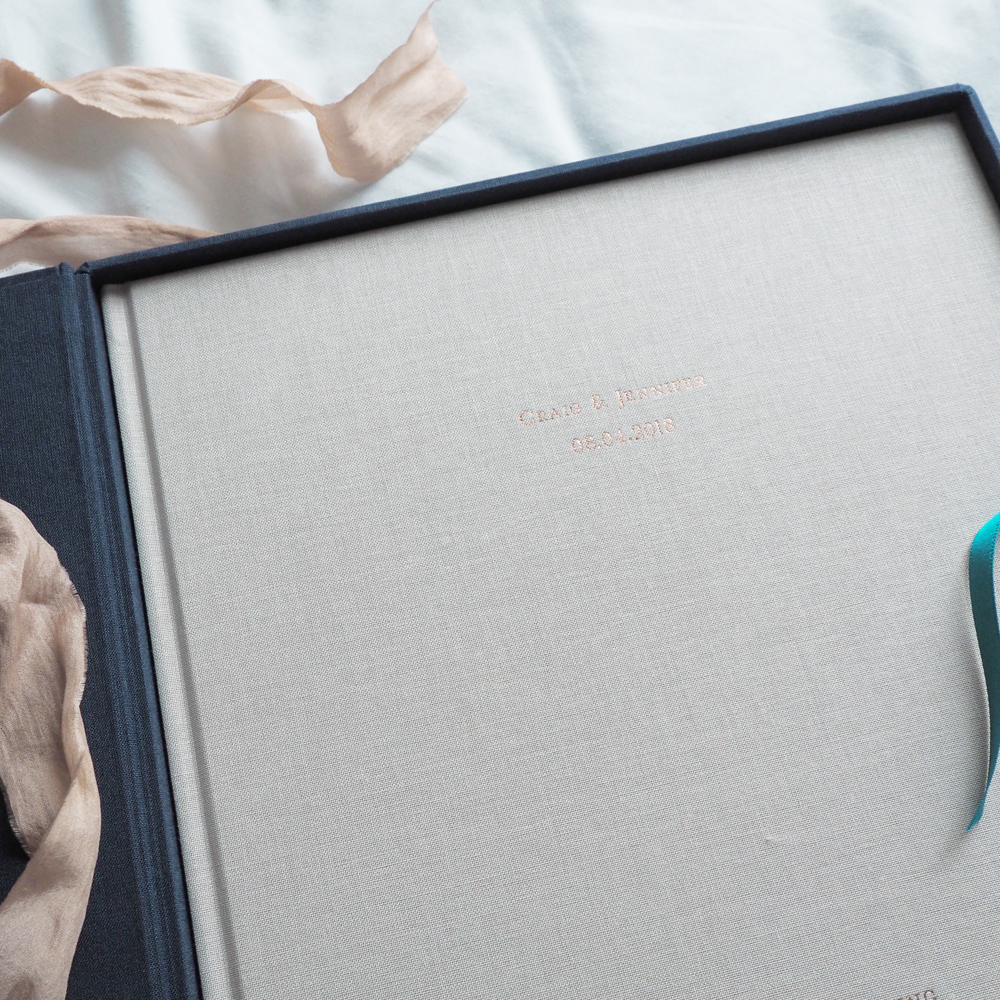
There are plenty of companies who print photo books, but I recommend taking the time to do some research before you settle on one. You’ll have things in mind for your book, and the first company you find may not give you exactly the book you’re dreaming of. You’ll also know yourself whether price is your primary concern, or if you want to create something really luxurious. We wanted our wedding photo book to feel timeless and special, and we knew wanted a hardback book with a linen/fabric cover and metallic embossed lettering, rather than having a soft cover or a photograph printed on the cover. We chose to create our photo book with Rosemood because we found we could have exactly the book we wanted, complete with luxurious cover, high quality paper and matte print options, and they were slightly cheaper than the other few companies we found who could do the same. We also wanted the option to have our photo book come with a presentation box, and not all companies offer this.
2. Start By Shortlisting Your Photos (But Not Too Much)
You’ll probably have hundreds of photos to choose from, and you want to make sure all your absolute favourites get the space they deserve. But there will be more space than you expect for extra shots here and there. I uploaded every single shot that I felt was nice enough to include, to make sure I had more than I needed. This was really useful for filling space with fun little moments and detail shots. I advise you to upload all the ones you’d be happy to go in, even if you don’t end up using them all. And it sounds obvious, but make sure all your images are high resolution (which they will be if you are using professional shots from your photographer.)
3. Tell a Story
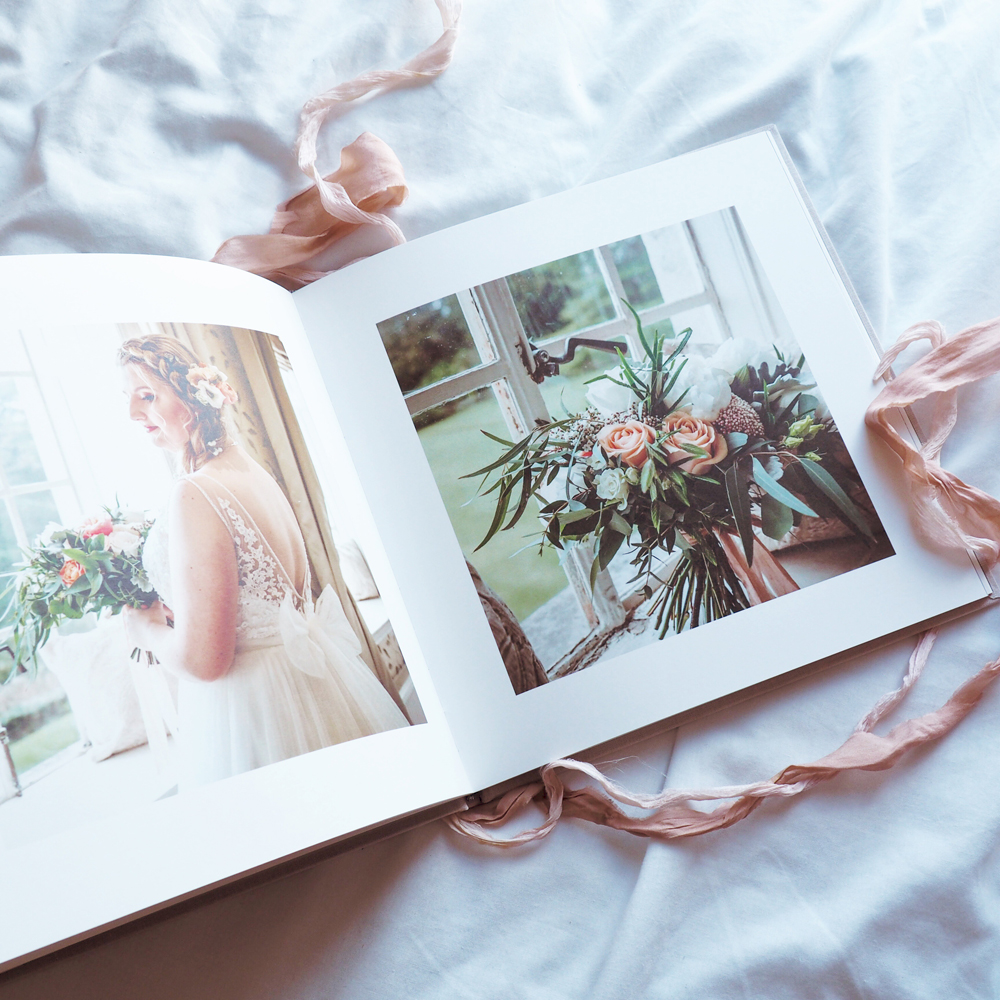
Our photo book roughly follows the order of our wedding day, starting with our getting ready shots, followed by the ceremony and reception, and ending with the guests dancing at night. It’s not quite as precise as that, but we’ve tried (roughly) to tell a logical story.
4. Choose a Wonderful Opening Image
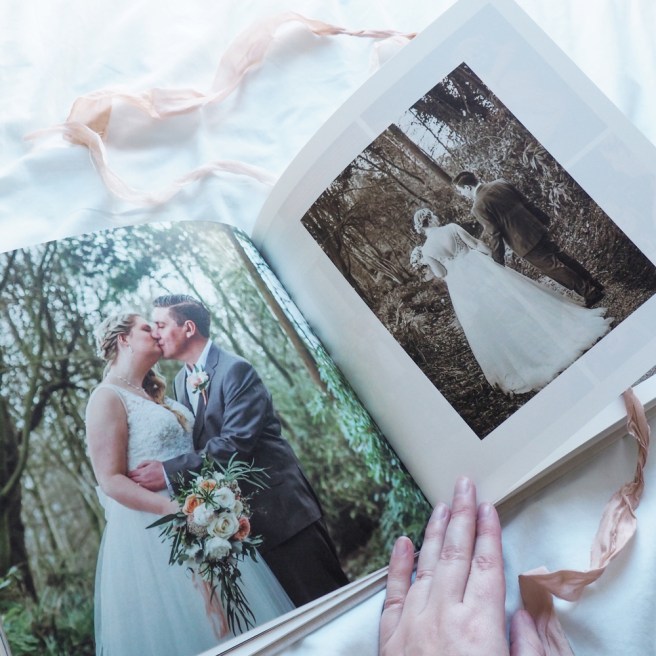
Choose your number one favourite image for the cover of your book. If, like us, you are having a plain fabric cover, put this image as your first opening shot instead. Our book opens with a lovely romantic wide shot of the two of us in the beautiful grounds of our venue. It is out of sequence in terms of the chronology of the day, but it is important to open with something special, and it also sets the scene of the day (literally, because of the venue in the background).
5. Create Variety With Your Layouts
You’ll have lots of layout options to choose from, including having one big image across two pages, one image per page, and various grid layouts to include smaller images. It’s nice to vary your layouts a bit throughout the book to keep things interesting.
6. Create Balance on Every Spread
Think of your page layouts as double page spreads and create balance across both pages together. I did this by coordinating the colours on a spread and choosing images which work well together. Completely black and white spreads can look lovely. Grid pages are a nice way to show detail shots which aren’t special enough for a big shot, but too many images on a spread can look busy, so I placed grids opposite large full page shots. Due to lighting and colouring, I found that my indoor and outdoor shots didn’t mix together very well on a spread, so I tried to keep them separate. I also created some really romantic spreads and some other light hearted spreads, rather than just mixing the shots together. I really enjoyed experimenting with what worked best visually.
7. Embrace the White Space
Less is often more when it comes to filling your spreads, and white space is important for letting your images breathe. It also makes your whole album look really classy, in my opinion. Wherever I chose to have a large image completely filling a page, I made sure I balanced this with some white space on the opposite page.

8. Prioritise your Favourite Images
This is probably the most important tip of all, to make sure you’re completely happy with your finished book. You’ll have your favourite shots from the day, and it goes without saying that you should make sure these get the priority placements. I placed my favourite photos first, and then made all the other images fit around them.
We’re so happy with our finished wedding photobook! It feels really timeless and now sits on our coffee table as a lasting memory our our magical day.
Have you ever preserved your memories in a printed photo book?

