As part of my fairytale-themed hen weekend I wanted to do something a little crafty, and after a lot of deliberation* I finally settled on photo booth props as it was a craft session we could do ourselves without guidance or instruction, and we could buy all our own materials from places like Wilkos and The Works.
*We had males in the group so I wanted to avoid making female-centric accessories like flower crowns. And I also quite liked the idea of making something that could be used at the hen weekend or wedding.

Here’s how you can make your own fairytale photo booth props:
What you’ll need
- Tracing paper
- Pencils
- A selection of coloured card, including metallic and glitter finishes
- Scissors
- Paper glue
- Embellishments (such as sequins, self-adhesive gems, glitter glue)
- Adhesive foam pads (optional)
- Long cake pop sticks
- Tape and PVA
- Lots of templates printed out on a standard printer (more details below)
Templates
Although there was a general fairytale theme to our props, quite a few of them were specifically Disney (because I love Disney)! I’ve included a few of the templates we used below for you to download.


I also found some great Disney princess dress templates online. Visit Hot Hands Bakery to download them from their site.
Finding more templates to use
I found all of my templates online by searching for simple line drawings of the items I wanted. Line drawings are easiest to trace! Check out my Pinterest board for more template ideas. Quotes in frames are also a great idea.
How to make your props
- Use tracing paper to draw around your chosen template designs and transfer them onto your chosen pieces of card. Start off by tracing the outline of the overall design, which will be the basis of your pop. Then trace around each extra shape individually, as they will all be separate pieces. (If it’s been a long time, here’s a simple guide to transferring images using tracing paper).
- Cut out your shapes and assemble your prop using glue or double sided tape. Create 3D levels by raising up some of your pieces using adhesive foam pads.
- Add embellishments!
- Let all your glue dry properly. Then use PVA and/or tape to fix the long sticks to the backs of the props. Let them dry.
- Display in jars in your photo booth and enjoy!


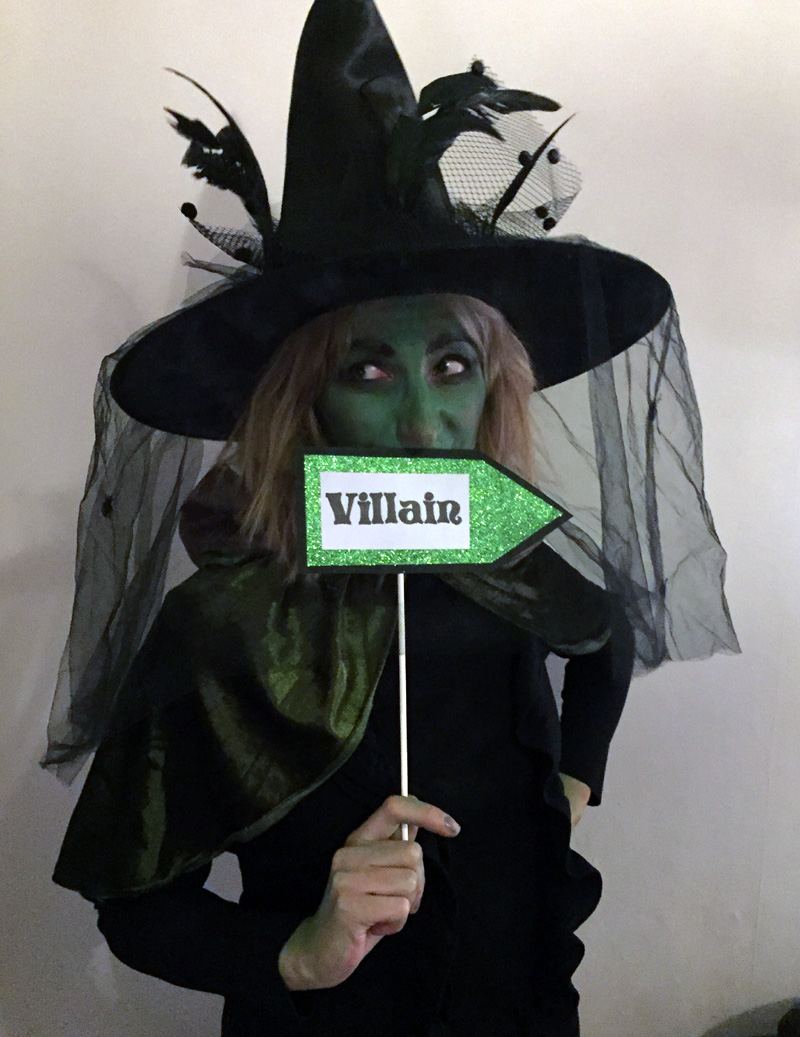
As you can see, we used some of our props for our fairytale murder mystery that very weekend, and then they also made an appearance at our wedding as part of our DIY photo booth area!

One thought on “How to Make Fairytale Photo Booth Props”